
Make sure to check out my Tokaido Crossroads Guide for Expert Travelers!
The Tier List
- Musubi (Power 48)
- Takeru (Power 42)
- Misaki (Power 42)
- Kinko (Power 41)
- Hirotada (Power 35)
- Ayumu (Power 35)
- Yoshiyasu (Power 32)
- Zen-emon (Power 32)
- Jirocho (Power 28.5)
- Chuubei (Power 27.5)
- Titia (Power 27)
- Mutsumi (Power 27)
- Mitsukuni (Power 27)
- Yashima (Power 27)
- Kushinada (Power 27)
- Gotozaemon (Power 27)
- Sasayakko (Power 26)
- Satsuki (Power 25.5)
- Marihito (Power 25)
- Daigoro (Power 24.5)
- Umegae (Power 23)
- Rakuren (Power 23)
- Kidzuna (Power 23)
- Hiroshige (Power 23)
- Chihaya (Power 21.5)
- Iyasaka (Power 21)
- Kita (Power 21)
- Mari (Power 21)
- Suseri (Power 21)
- Miyataka (Power 18)
- Kamui (Power 18)
- Nampo (Power 16)
Using this guide
When I first got the idea of rating every character I thought it would be impossible. There is just too much random stuff going on to get that specific. As my Tokaido Guide for Expert Travelers approached completion I realized that it’s possible to get a pretty good pulse on all the random events in the game, and it actually is possible to give characters a power level. Here is how I did it:
Points per coin
Based on the analysis I did in the previous guide, generating 3 points per coin should be pretty common and typical. When calculating a characters power level, the “coin” value is simply 3 points for each starting coin. Earning more than 3 points per coin is one of the ways you can get ahead, but as a floor, this feels right.
Rich
Characters who start with 6 or more coins are considered rich. This number was chosen because it means you can set aside 3 coins to pay for any meal at the intermediate inn and still have 3 coins to spend during the adventure which ensures you have enough to do everything like buy an expensive souvenir or donate the maximum to the temple all without needing a farmhouse. Other characters need to think very seriously before skipping a farmhouse spot, but rich characters can do so easily. This lets them be more flexible in their strategy of choice. These characters are generally less likely to ever go broke and they are more capable of pouncing on opportunities. This flexibility earn rich characters get +3 points.
Consistent
Consistent characters benefit from an unblockable special ability. For example, Kita gets to use both options at an encounter spot. This is a good ability, but it depends on her stopping at encounter spots, something other players will actively try to prevent her from doing. Chuubei, on the other hand, gains a free encounter at every intermediate inn. This is guaranteed and cannot be prevented. Consistency is worth +3 points.
Accomplishment boost
Some characters get a jump start on scoring an accomplishment. I have scored this as +2. The accomplishment is worth 3 points, and I am suggesting that a character with an accomplishment boost should win that accomplishment at leas 66% of the time.
Tie breakers
If two or more characters end up with the same ability scores, ties are broken by starting coins. Because it’s possible to score more than 3 points per coin, having more coins offers more opportunities for higher scores. Characters with more coins have a higher point ceiling.
Character Rankings
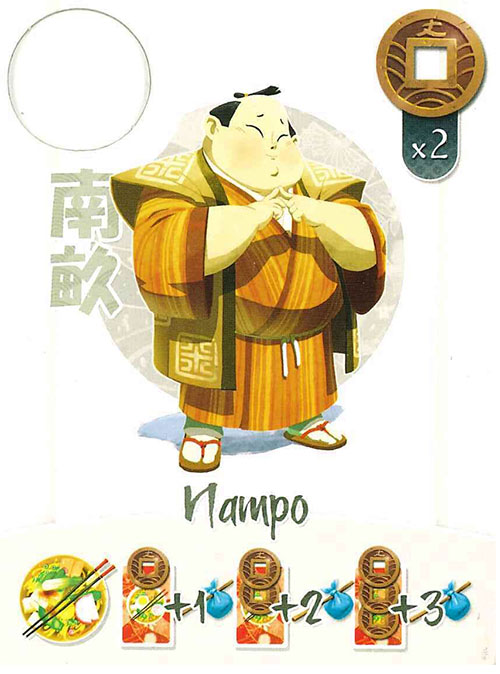
32. Nampo the Gourmet
Set: Crossroads
Ability: Scores 1 point for each coin spent on meals
Coins: 2
Power: 16pts
(6 coins + 8 ability + 2 accomplishment boost)
The most Nampo can earn from his special ability is 12 points if he purchases all 3-cost meals. This high-end reward is pretty optimistic, Nampo only starts with 2 coins so he can’t even afford the first expensive meal without help, let alone all four. I am only giving Nampo credit for buying an average of 2-cost meals for 4 dinners, giving him 8 bonus points.
If you are eating expensive meals, you are probably a favorite for the Gourmet accomplishment which gives him a small boost.
Playing Nampo – Difficulty: Hard
Nampo is a paradox. He has an incentive to buy expensive food, but he only starts with 2 coins. Lots of work is required to purchase all those tasty meals and still find time to donate to the temple and buy a few trinkets.
It’s true Nampo actually wants to buy expensive food but even with his ability getting 3-cost meals isn’t very efficient. Think of it this way, you can spend 3 coins to score 9 points (6 for food + 3 for his ability). This is a reasonable 3pts/coin. But you could have spent 2 coins to score 8 points which is a more impressive 4pts/coin and you still kept a coin!
Just like any other character, spending only 1 coin for a meal is still the best even for Nampo, and is often the best play. However one of the gameplay goals for Nampo will be to utilize the Hospitality amulet to keep your meal cost average as high as possible
Utilizing amulets should be Nampo’s primary goal. The Hospitality amulet will let you gobble up all those expensive meals for free, while still scoring points. The Devotion amulet will let you sneak in a large temple donation while you are munching on a nice expensive dinner.
You cannot use both hospitality and devotion at the same time because Devotion triggers on “coins spent” and using Hospitality means you spend 0 on the meal. So you will use them separately.
If you walk into an inn without a nice coin cushion and without an amulet, consider forgetting about his ability and just getting the cheapest meal. The meager amount of points his ability grants you isn’t worth handicapping yourself by going broke. Slow and steady wins the race with Nampo… Good luck with this guy! He is for advanced users only.
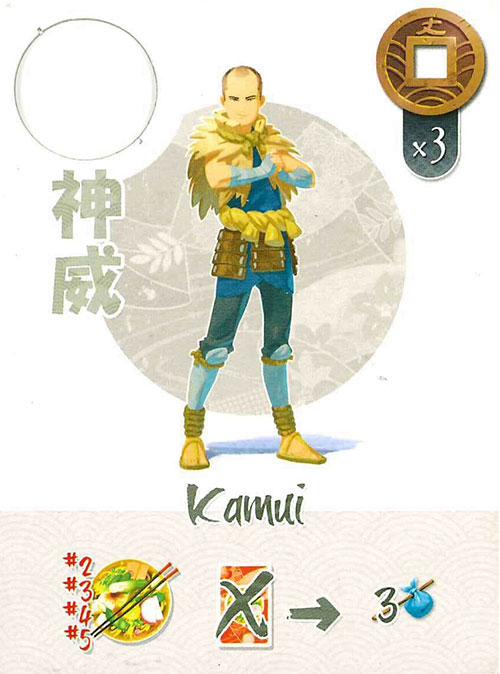
31. Kamui the vagabond
Set: Matsuri
Ability: When stoping at the intermediate inns and at the last inn, Kamui scores 3 points if he doesn’t buy a meal card.
Coins: 3
Power: 18pts
(9 coins + 6 ability + 3 consistent)
I am assuming Kamui skips all of his meals, even the 1-cost meals in order to maximize his free points. This means over the course of the game he will actually lose 12 points from his missed meals (4 meals at a 3 point loss each).
However he gets to keep all the coins he would have spent on those meals. In this case I went with 6 total saved coins. Using our 3 points per coin benchmark, he should be able to convert these 6 coins into 18 points. Which is a net profit of 6 points from using his ability.
You might be asking why I am recommending skipping even 1-cost meals, isn’t 6pts/coin very good value? Sure is, but if you skip the meal you get 3 points, and you can get more than 3 points on the coins you saved which will actually make it worth 7+ points. Making that happen is on you, and that is what makes this character hard.
Playing Kamui – Difficulty: Hard
To fully utilize his ability to you need to extract maximum value. Each coin you save is actually a gamble, you need your coins to do BETTER than the guaranteed points they would have been worth if you spent them on a meal.
Getting the Fasting calligraphy is a no-brainer for Kamui because that means he loses no points for missing all those meals! If you get fasting that means essentially he just started with +5 coins which you can now spend on whatever you need.
Most normal characters have no interest in the Fasting calligraphy so you can usually pick it up as your second. You should feel somewhat comfortable taking Nostalgia or Contemplation first. Keep your eyes on characters that missed a meal however, because that makes them serious threats to your plan.
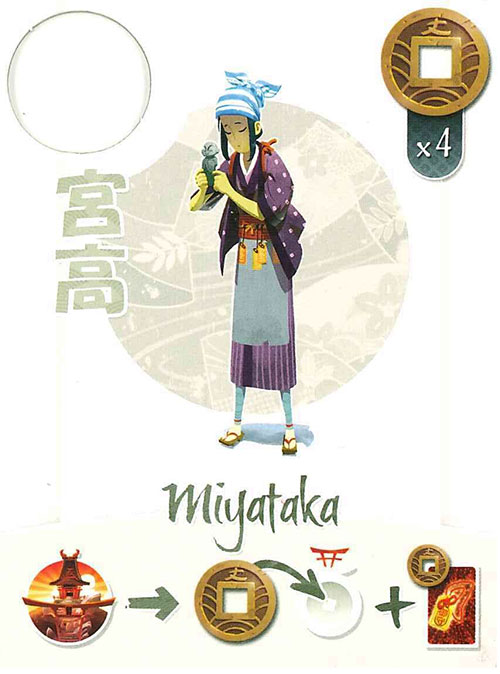
30. Miyataka the Superstitious Woman
Set: Crossroads
Ability: Can perform both actions at temple stops
Coins: 4
Power: 18pts
(12 coins + 4 ability)
Most characters who stop at a temple are doing so to get an amulet, and so should Miyataka. Her ability lets her also donate coins as a bonus. The donation goal is 3 coins since that is usually enough to get first or second at the temple. She is able to kill two birds with one stone when she makes temple stops but after you take the temple lead, there isn’t much reason to keep throwing money in. This is why her ability isn’t very strong. It’s only worth 4 points because while other characters have to stop at the temple just to donate, she is buying an amulet instead. This amulet is worth 4.
Playing Miyataka – Difficulty: Hard
She starts with only 4 coins and if she manages to hit a temple and utilize her ability she must spend at least 2 coins to do it (purchase amulet and donate at least 1 to the temple). It’s tough for any character to scrounge up 2 coins every time they want to use an ability, but for one who starts with only 4 you need to be extra careful.
Leaning on coin-generating amulets like Fortune, Hospitality and Friendship (with a farmhouse spot) can help her sustain constant temple visits. Her ability is expensive so trying to split attention between hitting the temple and buying souvenirs is very risky so I would recommend giving up on the village with Miya.
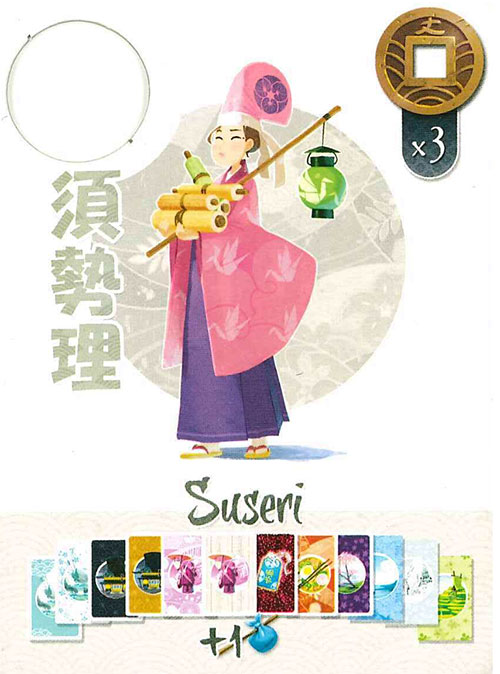
29. Suseri the erudite
Set: Matsuri
Ability: At the end of the game Suseri scores 1 point for each different type of card in her collection.
Coins: 3
Power: 21pts
(9 coins + 11 ability)
There are 12 different types of cards she can collect over the course of the journey. You might be wondering why I am only giving her 11 points for her ability score. I am doing that because one of her points comes from finishing the game with an unused amulet in her inventory. If you collect that particular point, that means you spent a coin on an amulet and scored exactly 1 point for it. That would be a blunder. You would be better off spending the coin on something else or sing the amulet for value.
Playing Suseri – Difficulty: Hard
Suseri is one of my favorite new characters. She isn’t very powerful but she is fun and thematic, wanting to get the most out of her vacations. I actually had to look up what erudite means:
Erudite:
having or showing great knowledge or learning.
What a classy way to connect flavor and gameplay! Collecting knowledge and learning in Tokaido isn’t as easy as it sounds. For Sesuri to get all her points she has to make 4 panorama stops, 2 encounter stops, 2 bathhouse stops, 2 village stops and hit enough farmhouses to afford all of that! She also probably needs to make it to the temple to put in a donation. That’s a lot of work, and a lot of planning. Making all these stops makes it very hard for her to focus on any one thing.
Here are some things to keep in mind:
- As stated above, do not focus on ending the game with an amulet, that is negative value
- She wants to spend a coin at a bathhouse which isn’t great value either, save this for last and don’t feel bad if you miss it
- Cherry blossoms have an expiration date and once the 6th one is taken she misses the opportunity to get this point, so make sure to grab at least one
- Encounter stops are good for her because Anniabito (all three versions) and Shokunin knock two unique items off her list and potentially save you a stop
- The health amulet will let you double up on stops (hot springs and bathhouse, encounter and calligraphy etc) which can take some of the pressure off making them later
The most important thing to remember is getting unique cards is a bonus and not a goal. You very well might find yourself scoring more points completing the blue panorama or getting some lucky hits at the village.
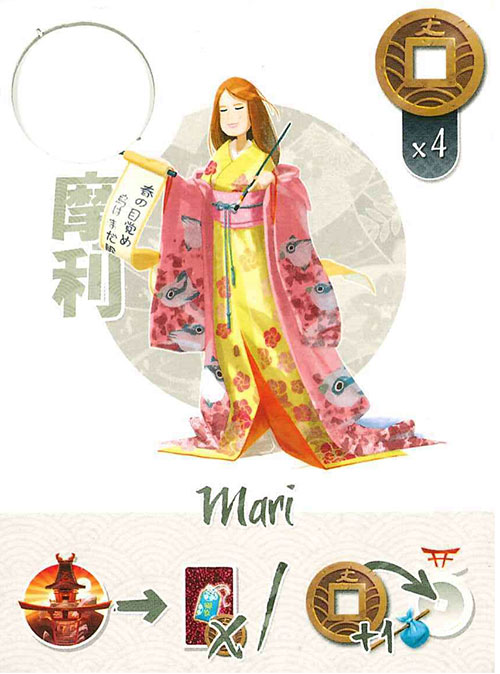
28. Mari the poet
Set: Matsuri
Ability: When stopping at a temple space, Mari scores 2 points instead of 1 for each coin she donates to the temple. If she decides to buy an amulet, Mari can take it for free.
Coins: 4
Power: 21pts
(12 coins + 9 ability)
All players should work hard to donate 3 coins to the temple, if Mari does this she earns an addition 3 points from her ability. She also buys amulets for free, so I gave her credit for saving 2 coins on amulet purchases over the course of the game for a total ability score of 9.
Playing Mari – Difficulty: Medium
If you use the Devotion amulet to donate 3 coins through a purchase of food or a legendary sword, you get those bonus points from her ability. You should focus on making this combo happen as it is one of Mari’s greatest tools for value.
She takes amulets for free which increases the value of those amulets drastically so try to take advantage of as many temple stops as you can for this purpose.
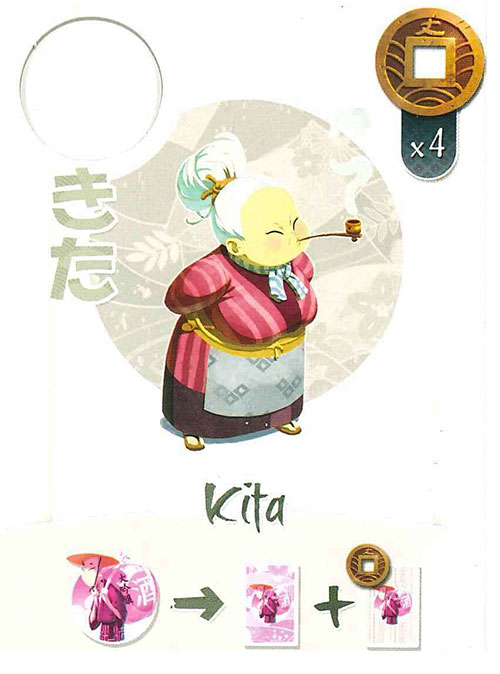
27. Kita the old woman
Set: Crossroads
Ability: Can perform both actions at encounter stops.
Coins: 4
Power: 21pts
(12 coins + 7 ability + 2 Accomplishment Boost)
Doing both choices at a stop is like getting two stops for the price of one. So if Kita makes two encounter stops, she basically gets two more encounter stops for free! Generally you will be buying a calligraphy card on your first two encounter stops, so Kita is getting meet a friend as a bonus. Meet a friend is worth 3.5 pts on average so she earns 7 points from that. Her double dipping gives her a boost toward Chatterbox.
Playing Kita – Difficulty: Hard
The first calligraphy card worth grabbing is probably Perfection which gives you a point for calligraphy cards and accomplishments. She is already scoring double encounters for Chatterbox so that is logical. After that purchase whatever best matches your game flow.
Starting with only 4 coins, it’s pretty tricky to maximize your value on the multiple calligraphy cards you will inevitably get. Most characters will get 1 calligraphy and lean on free encounter stops after that unless they have plenty of money. Kita doesn’t want to miss out on her value so she is compelled to spend the coins even if she doesn’t really want a calligraphy card.
Late in the game Kita will often have the opportunity to pick up calligraphy cards other people have passed on like Patience and Fasting. If you see this happening plan ahead. Feel free to skip a meal knowing you will recoup some lost value, or get Vitality or Friendship amulets to maximize Patience.
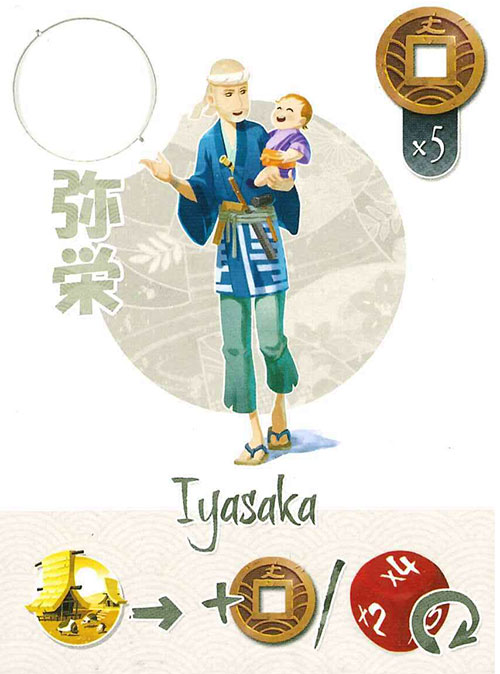
26. Iyasaka the manual worker
Set: Matsuri
Ability: When stopping at a farmhouse Iyasaka receives 1 extra coin if he chooses to receive 3 coins or Iyasaka can choose to re-roll the fortune die if he chooses to gamble.
Coins: 5
Power: 21pts
(15 coins + 6 ability)
If Iyasaka makes 2 stops at farmhouses and takes the guaranteed 4 coins, he ends up with 2 extra coins over the course of the journey. This is worth 6 points. Farmhouses are obviously coveted spots, but if you can land on more than 2 that’s a great bonus.
“What about the gamble!” you might be asking. Here is the thing about gambling, even with this character. If he hits x3, that means he is only collecting a profit of 4 coins. But he is already guaranteed to get 4 coins just by stoping at the farmhouse.
Of the possible gamble outcomes (0, x1, x2, x3, x3, x4) he literally only profits on the x4. That’s only 1/6 chance to do better than just taking 4. Even with his free re-roll, gambling with him is absolutely terrible.
Playing Iyasaka – Difficulty: Easy
You want to jam as many farmhouses as possible. If you happen to pick up lots of early money, consider grabbing the Foresight calligraphy. Otherwise focus on converting your coins into points at the souvenir shops.
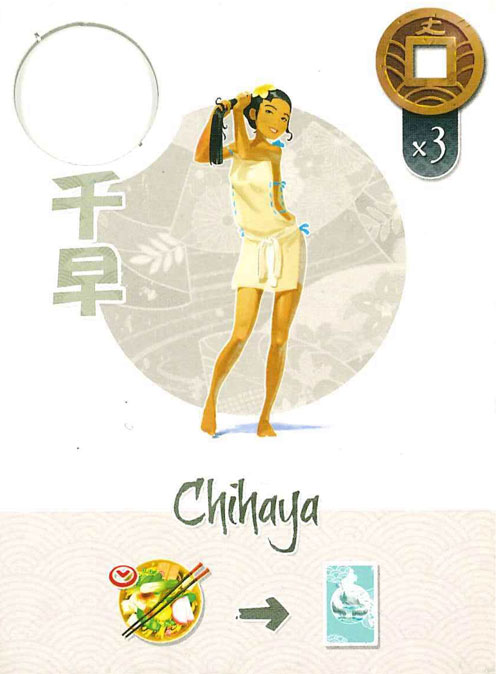
25. Chihaya the bather
Set: Matsuri
Ability: When stopping at the intermediate inns, Chihaya receives a hot springs card.
Coins: 3
Power: 21.5pts
(9 coins + 7.5 ability + 3 consistent + 2 accomplishment boost)
Chihaya is a straight-forward character who is guaranteed to get 3 hot springs cards. These cards are worth 2.5 points each for 7.5. Having 3 hot spring cards in the bag makes the Bather accomplishment an easy grab.
Playing Chihaya – Difficulty: Easy
The Perfection calligraphy might be a good first purchase since she is a favorite to win Bather. Try to shoot for Chatterbox as well, since it’s free and she is poor. There isn’t much to playing Chihaya other than spending your 3 starting coins wisely and don’t go broke!
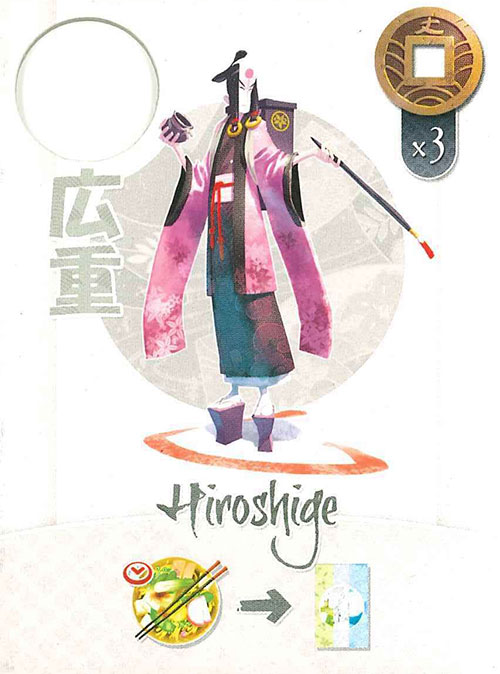
24. Hiroshige the Artist
Set: Base
Ability: Gains his choice of panorama card at each intermediate inn
Coins: 3
Power: 23pts
(9 coins + 7.5 ability + 3 consistent + 3.5 Accomplishment Boost)
Most characters get +2 for accomplishment boost, but Hiroshige is getting +3.5 because he can reasonably get 2 completed panoramas thanks to his ability.
Playing Hiroshige – Difficulty: Medium
Grabbing the Contemplation calligraphy is a great idea with this character. If your gameplan is developing well and you are on your way to a couple completed panoramas you can also consider getting Perfection.
Choosing which panorama card to pick up when you get to each inn isn’t always easy. The trick is you don’t want to finish one too soon because that will make it impossible for you to utilize a potential stop. It might be tempting to lock in that 5th blue panorama on the 3rd inn but maybe you should take the more elusive grey. You might be able to push your luck and get both!
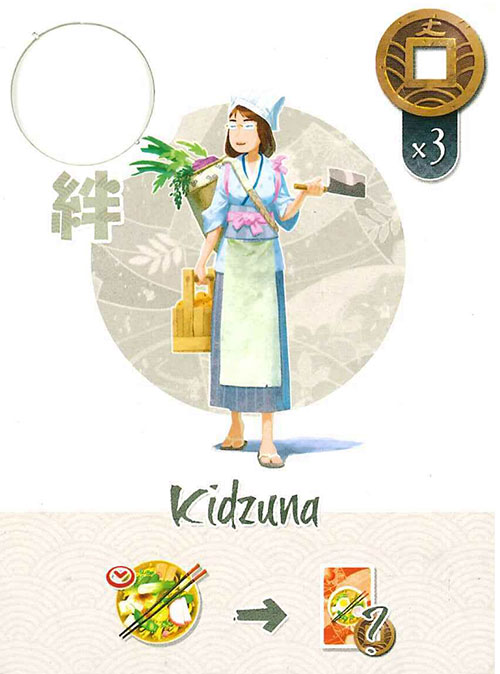
23. Kidzuna the cook
Set: Matsuri
Ability: When stopping at the intermediate inns, Kidsuzna can buy another meal in addition to her usual meal. First reveal the top card from the stack and choose to buy it at the indicated cost. Kidzuna then proceeds to eat with the rest of the group.
Coins: 3
Power: 23pts
(9 coins + 12 ability + 2 accomplishment boost)
It is possible for Kidzuna to eat a full 3 extra meals over normal travelers earning her 18 extra points. The problem is there are only three 1-cost meals for her to get, then she has to pony up 2-3 coins. She only starts with 3 coins so this is easier said than done.
For additional hardship, the random meal she flips might be a duplicate of one she already ate. Eating 3 extra meals really is the dream, but eating just two is pretty good. So I am giving her credit for eating two extra meals for +12 points and giving her an accomplishment boost toward Gourmet.
Playing Kidzuna – Difficulty: Hard
You might be noticing a trend that characters who start with 3 or less coins end up being hard to play. Like Nampo before her, Kidzuna is going to have a very hard time eating extra meals with her limited funds. Making calculated jumps to farmhouses and utilizing the hospitality amulet will be required to get full value from Kidzuna.
Make good use of cherry blossoms early in the game. The hospitality amulet can be used on her first random meal, or her second standard meal so this is a very valuable amulet for her as it will let her secure double meals with ease.
If you have the wiggle room to grab a calligraphy card, she is probably a shoe-in for Gourmet so consider that one first.
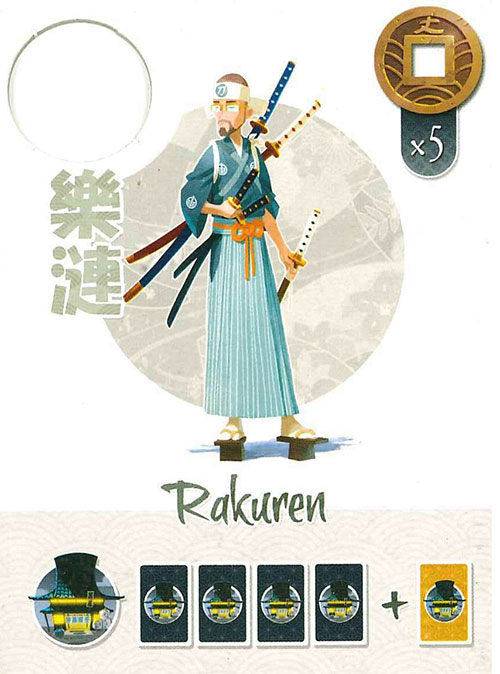
22. Rakuren the collector
Set: Matsuri
Ability: When stopping at a shop space Rakuren can randomly draw 4 souvenir cards and 1 legendary object card instead of the usual choices. He can choose to purchase any number of these cards.
Coins: 5
Power: 23pts
(15 coins + 8 ability)
To quantify Rakuren’s ability I am giving him credit for “doubling” his village stops and giving those extra stops a value of 4 pts. This is somewhat random because it depends on what souvenirs and legendary items are pulled, but because of his larger sample size he is pretty likely to complete a set and get some relevant legendary items.
Playing Rakuren – Difficulty: Medium
Rakuren starts with a reasonable amount of coins and great prospects for scoring well at the village. Try to make a village stop as soon as you see the opportunity. Otherwise grab the Nostalgia calligraphy.
If your first legendary item is a sword, I would recommend not buying it, and just spending your coins on standard souvenirs instead. Spending 3 early is too limiting. If either of the other legendary items are pulled, buy those and try to focus on generating more coins to keep buying souvenirs.
Note that Rakuren’s ability is a “may” effect and he can choose to use the village stop normally. This would come in handy if your set of 4 souvenirs is already complete and you are focusing on getting the 2-cost legendary souvenir to extend your set. No need to roll for a random legendary in that situation.
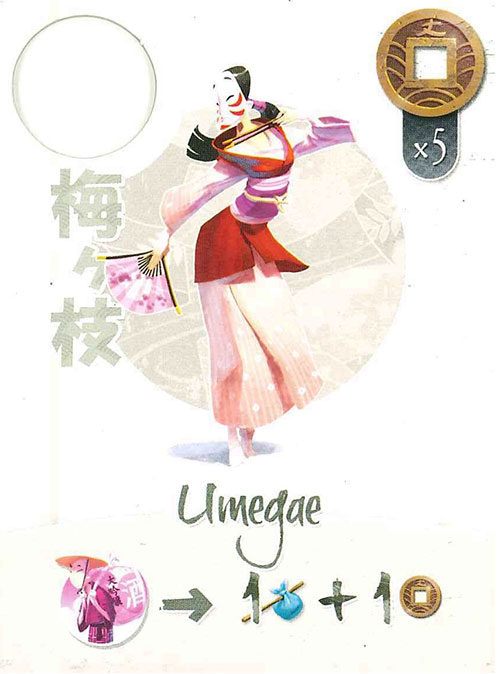
21. Umegae the street entertainer
Set: Base
Ability: Gain 1 point and 1 coin at encounter stops
Coins: 5
Power: 23pts
(15 coins + 8 ability)
The bonus Umagae gets from an encounter is 1 coins (3 points) and another point. I give her credit for making a minimum of two encounter stops for an 8 point ability bonus.
Playing Umegae – Difficulty: Medium
Having an alternative way to earn coins is strong. In the early game Umagae will earn coins at the farmhouse, cherry blossom and the encounter spot. How awesome!
Look for opportunities to purchase the Friendship amulet and use it to double up on encounter spots. This gives you back the coin you spend on the amulet and gives you a free roll for an extra point and an encounter. Or you can get a bunch of calligraphy cards and hope for some major scoring.
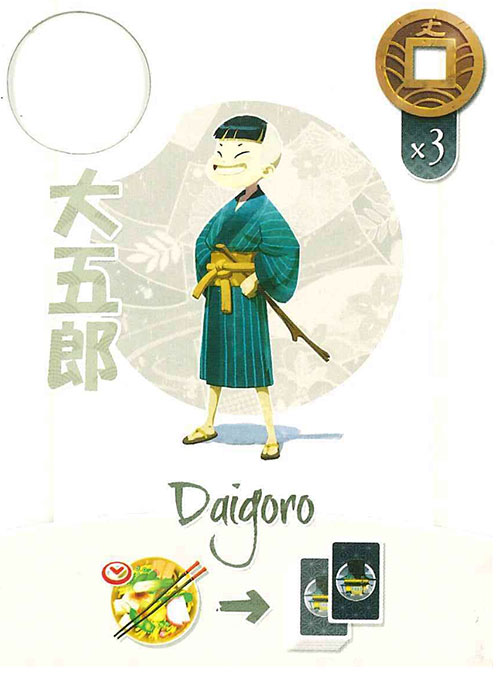
20. Daigoro the kid
Set: Crossroads
Ability: At every intermediate it gain a random souvenir
Coins: 3
Power: 24.5pts
(9 coins + 10.5 ability + 3 consistent + 2 Accomplishment Boost)
I put a 2.5 point value on a random souvenir when evaluating it in my guide. But in this case I am giving Daigoro 3.5 per souvenir because he knows he is going to get at least 3, and he can easily plan ahead and convert them into a set (or more).
To break this down further Daigoro has ~42.68% chance of getting 3 souvenirs from 3 categories. He has a ~3.9% chance of getting 3 souvenirs from the same category. Finally he has a ~53.42% of getting any other outcome of one duplicate souvenir and one different souvenir.
42.68% = 9pts
53.42% = 5pts
3.9% = 3pts
Those are the free points Diagoro would earn if he did nothing else at the village. But if you land one a couple of village stops you can work magic.
Playing Daigoro – Difficulty: Easy
Daigoro has it pretty easy. Very little decision making is required, and even if he gets blocked from most of the villages he can still complete a set with only 1 stop.
With Diagoro you might feel compelled to hit the nearest shop and start building up your set. This is a great start, however if you hit an early shop do NOT buy souvenirs to build up your set, instead go for the legendary items. The first souvenir Diagoro should buy is a legendary Emaki or Shodo for 1 coin. These cheap legendary souvenirs are going to offer a guaranteed 3 points and likely many more. The 2-coin legendary items, Ema and Buppatsu, are also great pickups because they will never interfere with the free items Daigoro is getting.
Purchasing standard souvenirs isn’t as efficient because he might end up getting duplicate items when he triggers his ability at the inns. Try to use the last couple of stops to complete your item sets. Especially the very last day when the risk of getting a duplicates has passed. Utilize the Friendship amulet to land on the critical final village.
The obvious calligraphy choice for Daigoro is Nostalgia since he is a lock for getting 3 pts from his ability alone, and you will be buying additional souvenirs throughout the journey. Perfection is a good second since he also has a big leg up on getting the Collector accomplishment. If you purchased the friendship (or vitality) amulet to grab the last village stop the patience calligraphy might also be worthwhile.
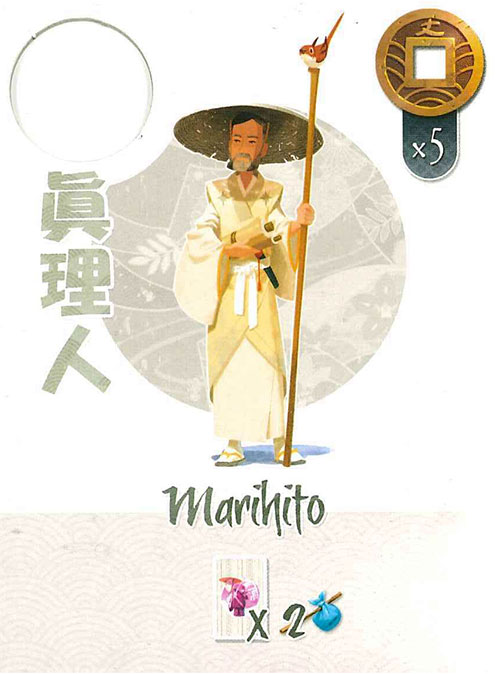
19. Marihito the writer
Set: Matsuri
Ability: At the end of the game, Marihito can double one of the calligraphy cards in his collection.
Coins: 5
Power: 25pts
(15 coins + 10 ability)
Marihito gets his 15 points for coins, and then I am giving him another +10 for doubling a calligraphy card. The calligraphy cards are a big variable because it could earn some explosive scores. Foresight in particular can be really insane for Marihito.
Playing Marihito – Difficulty: Medium
In order to take advantage of his ability he must grab a (good) calligraphy card. The best ones are Foresight (which ensures every coins you hold is worth 4 points, an amazing value) followed by the usual suspects: Nostalgia, Contemplation.
Once you get your hands on a good calligraphy, you still need to maximize your score on it. Nothing about Marihito’s play is easy. It requires some thought, and doubling the value of certain things messes with your math. On the other hand, he does start with a comfortable 5 coins and has a very high point ceiling.
Worth noting that if you do get Foresight, your second grab should almost certainly be fasting and then start skipping meals.

18. Satsuki the orphan
Set: Base
Ability: At each inn has option to eat random meal for free
Coins: 2
Power: 25.5pts
(6 coins + 18 ability + 3 consistent)
Satsuki gets to eat for free, so this will save at minimum 5 coins (the three cheap meals, and a 2 cost meal). I am giving Setsuki credit for saving 6 coins over the course of her journey eating meals when calculating power level.
Playing Satsuki – Difficulty: Easy
She starts out pretty poor, but after a farmhouse and a few cherry blossoms she can swing with the rich boys as they spend money on feed.
Her ability has an upshot and a downside. The upshot is she might catch some expensive meals and accidentally win the gourmet accomplishment! Keep your eyes on other character’s food spending on the last meal. You might consider skipping her free meal and actually buying one expensive one to lock the accomplishment up.
The downside is that she might pull a meal she has already eaten and be forced to pay for a different one. Which is often no problem but if you are going in broke, you do take a bit of risk.
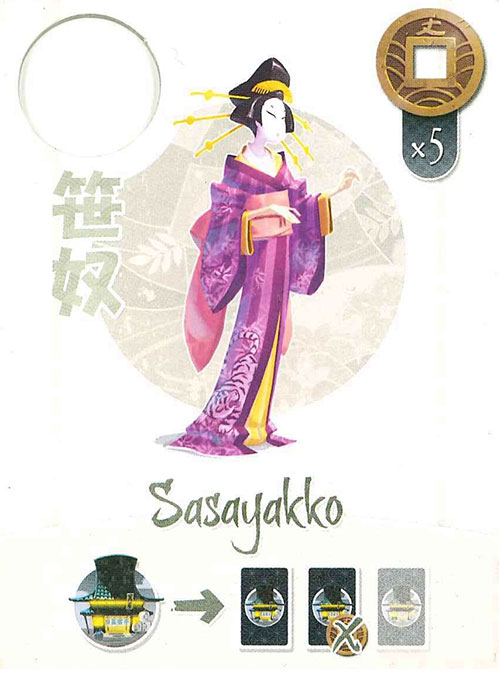
17. Sasayakko the geisha
Set: Base
Ability: When purchasing two or more souvenirs, she gets the cheapest for free (must be able to afford all purchases)
Coins: 5
Power: 26pts
(15 coins + 9 ability + 2 Accomplishment Boost)
Sasayakko is a favorite to save about 3 coins at village stops over the course of the game. Her ability to buy multiple souvenirs at once means she can accumulate a large number of them even if they aren’t all going toward a set. This gives her a substantial boost toward the Collector accomplishment.
Playing Sasayakko – Difficulty: Medium
The problem is she has to have enough coins to fully buy two items, so you basically need to be walking into villages with 4 coins to truly feel comfortable. Gathering funds is very important with Sasayakko so take your cherry blossoms, eat cheap food and prioritize farmhouses to make sure her wallet is prepared for the villages.
Sassy’s first calligraphy should be Nostalgia for obvious reasons with Perfection second if you get the chance. Use the friendship amulet to land on villages other travelers are trying to block. The Health amulet could be used to create some very efficient stops letting you get some souvenirs and a Shodo/Emaki in the same move.
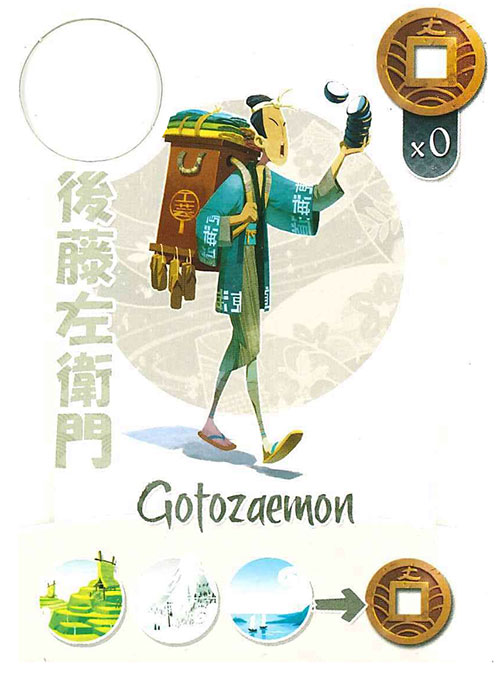
16. Gotozaemon the Souvenir Seller
Set: Crossroads Ability: Gain 1 coin at every panorama stop Coins: 0
Power: 27pts
(24 ability + 3 consistent)
It’s important to know how many pano stops there are in a small vs large game. It’s impossible to visit all of them, but important to know:
- In a 3 player game there are 18 total pano stops
- In a 4-5 player game there are 27 total pano stops
An average character is entitled to:
- 1/3 of the stops in a 3 player game, 6
- 1/4 of the stops in a 4 player game, 6.75
- 1/5 of the stop in a 5 player game, 5.4
We can call this a 6 pano average, but because Goto can focus on panos while other players are not, I am giving him credit for 8 stops, which is why he is getting 24 for ability (8 coins worth) and not 18. Keep in mind he gets the coin when he stops at a panorama not when he gets a panorama card. So he gets +2 coins when he takes a cherry blossom, and 0 when he meets Anniabito. It should go without saying that you want to get as many cherry blossoms as possible because those value is insane.
I wrestled with the idea of giving Goto +2 for panorama accomplishment boost, but he doesn’t actually generate panorama card any faster than other characters. But don’t let that stop you from completing them anyway!
Playing Gotozaemon – Difficulty: Medium
Goto has one major problem, he starts with 0 coins. His early game is a little rough. The first three stops in the journey are village, temple, and encounter. Goto cannot even visit the temple or village and cannot afford a calligraphy card. So his first two choices are to meet a friend or skip to the next pano to grab cherry blossom. I suggest you skip to the cherry blossom because then it sets you up for a farmhouse on your next move. This combo starts you off with a comfortable 5 coins. Unless another player gets fancy and skips ahead.
The friendship amulet is a good one for Goto because there are so many pano stops. The opportunity to land on one using friendship and then take another turn to immediately land on another pano manifests frequently. This will net you a 1 coin profit over the amulet and two pano cards.
A unique benefit of Goto is how difficult it is to stop him from making money. If another character ever goes completely broke, it’s easy to just block them from the farmhouses and lock them out of the game. This isn’t something Goto needs to worry about since he financially benefits from so many stops.
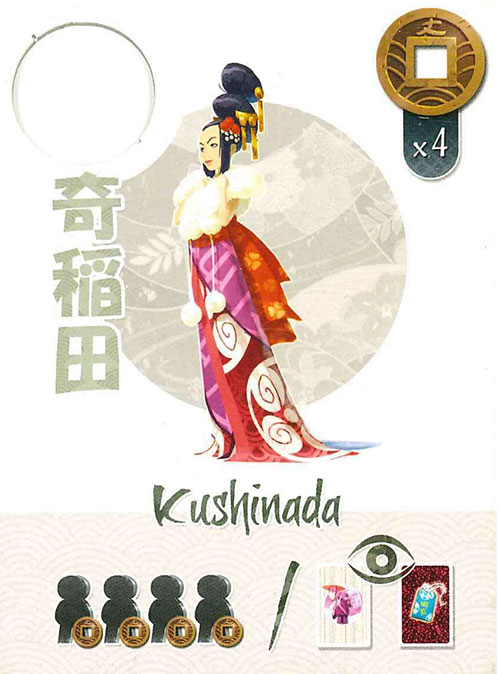
15. Kushinada the world traveler
Set: Matsuri Ability: At the beginning of the game all other travelers give 1 coin to Kushinada. During the game, at any time, Kushinada can secretly look at her opponents calligraphy and amulet cards. Coins: 4
Power: 24-31pts
(18-24 coins + 3 ability + 3 rich)
Kushinada steals coins from other players. She will steal between 2-4 coins depending on player count. This makes Kushi stronger in higher player counts. In this guide she is slotted in at 27, her value in a 4 player game.
Beyond just increasing her wealth, there is a value to hurting the other players. She reduces the power of her opponents which is hard to evaluate, but I am giving it a value of 3 points since she takes 1 coin which makes it ~3 points harder for them to close the gap on her. Her other minor ability to peek at travelers secret cards is a bit of a waste and I don’t think it’s worth anything.
Playing Kushinada – Difficulty: Easy
She starts with a nice cushion of coins and you should just focus on spending your money wisely. This is a task made slightly easier by her ability to peek at calligraphy and amulet cards. Though I can think of very few uses for this ability… One of them would be to know which player has the Devotion amulet. If no one has it, then you should get it. If a player has it, you can better evaluate how much you should donate to the temple to keep up. Another reason is knowing what calligraphy cards characters have so you can block them from scoring on them.
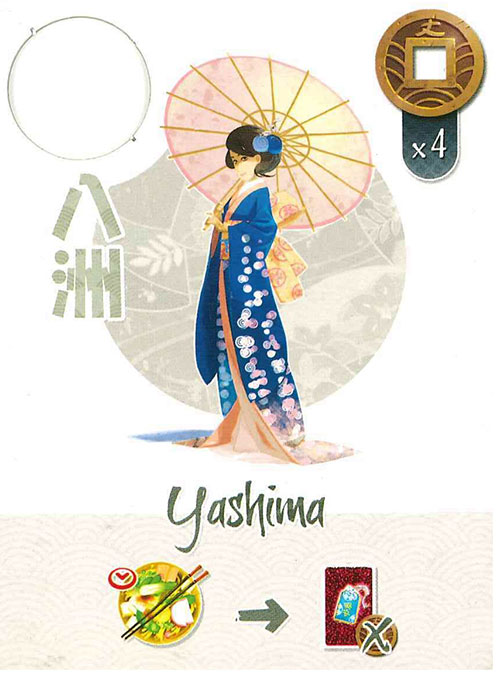
14. Yashima the noble
Set: Matsuri Ability: At intermediate inns, Yashima receives a free random amulet. Coins: 4
Power: 27pts
(12 coins + 12 ability + 3 consistent)
The average value of an amulet is about 4 points, most of the amulets generate a free stop while Hospitality and Fortune generate a little over 1-2 coins. Yashima picks up 3 free amulets on her journey which is great value, especially if you get the right amulets at the right time. Her three amulets get +12 ability points.
Playing Yashima – Difficulty: Medium
Just because she gets amulets for free shouldn’t keep her from still buying amulets when she gets the opportunity. Denying amulets to your opponents is strong. The information you get from knowing what others could be holding is also useful.
With all these amulets Yashima can do some crazy combos like Friendship+Health at a farmhouse for a big income boost or Devotion+Health at a village for a big score.
Her gameplay is dependent on what amulets get pulled. If you end up with an early Devotion, look for buying a sword early and possibly following through with a souvenir strategy. If you cycle through Fortune and/or Hospitality a lot you can go souvenirs or go the Foresight route. If you end up with Friendship and/or Health a lot looks to completing as many accomplishments as possible by focusing on hot springs and panoramas and getting Perfection.
It isn’t all fun and games for Yashima. She only starts with 4 coins and needs to tread carefully not to go broke in the first couple of days. Making the most out of the amulets is also a challenge. Her power could be much higher if she scores more than 4 points per amulet, that should be your goal.
It’s possible for Yashima to get a Hospitality or Fortune amulet before her meal. So even if she comes in broke, she has a 1/3 chance of lucking out.
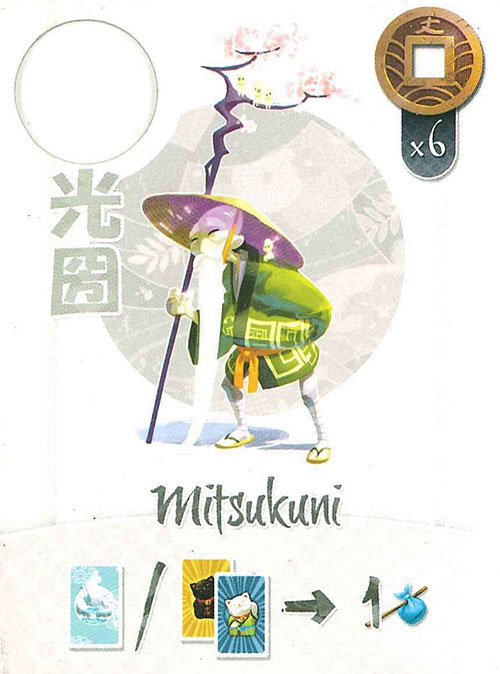
13. Mitsukuni the old man
Set: Base Ability: 1 point for each achievement and hot spring card Coins: 6
Power: 27pts
(18 coins + 4 ability + 3 rich + 2 Accomplishment Boost)
I am giving Mitsukuni credit for 4 bonus points from hot springs and accomplishments (approximately 2 hot springs stops and 2 accomplishments). Generally the Bather accomplishment makes sense for Mitsukuni to go for and he is financially equipped to go for Collector or Gourmet.
Playing Mitsukuni – Difficulty: Easy
Mitsukuni has enough starting money to do anything. You don’t need to “go for” hot springs, just take them as they come. Once you are about halfway done with your journey start trying to see what accomplishments are within reach. Use amulets to complete accomplishments: health to double up on encounters and hot springs cards, friendship to shore up panorama completions if you are close.
The Perfection calligraphy card is a good fit especially if things are going your way with accomplishments. The Foresight calligraphy is also an interesting consideration for Mitsukuni because he can save his money while going for panoramas (another free source of accomplishments), encounters, and bathhouses. Then cross the finish line with a full coin purse ready to collect those juicy points.
Mitsukuni can also afford an early Devotion + Legendary sword combo.
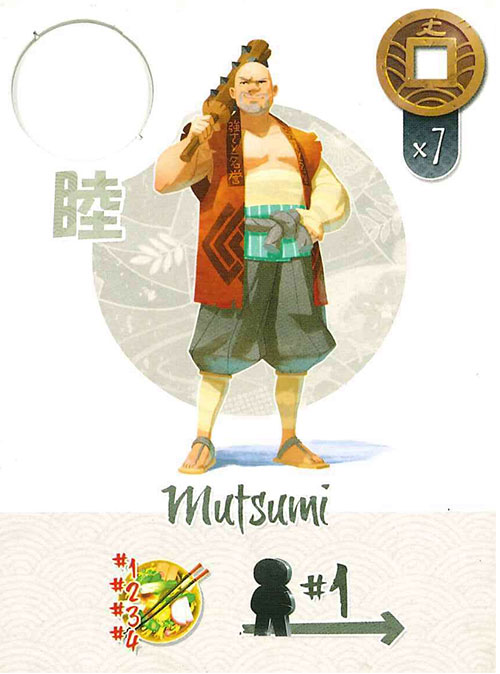
12. Mutsumi the brute
Set: Matsuri Ability: At the first 4 inns, Mutsumi can leave the inn first, regardless of the order in which he arrived at the inn. Coins: 7
Power: 27pts
(21 coins + 3 consistent + 3 rich)
Mutsumi’s ability is worth no points at face value. However he does happen to be rich, and his special ability is unstoppable so he ends up having a pretty high power level off those traits alone.
Playing Mutsumi – Difficulty: Easy
Leaving first opens up some interesting strategies to Mutsumi since he can be 100% sure what spots he can grab out of every inn. One excellent series goes like this:
Day 1: Temple – Devotion Amulet Day 3: Village – Legendary sword + Devotion
Alternatively:
Day 1: Village – Emaki/Shodo Day 2: Temple – Devotion or Health Day 3: Village – Sword+Devotion or Health+Souvenirs Day 4: Temple – Temple
The beauty here is no one can do anything to stop Mutsumi! He gets first dibs on all these spots and can do whatever he wants and he has the coins to take full advantage.
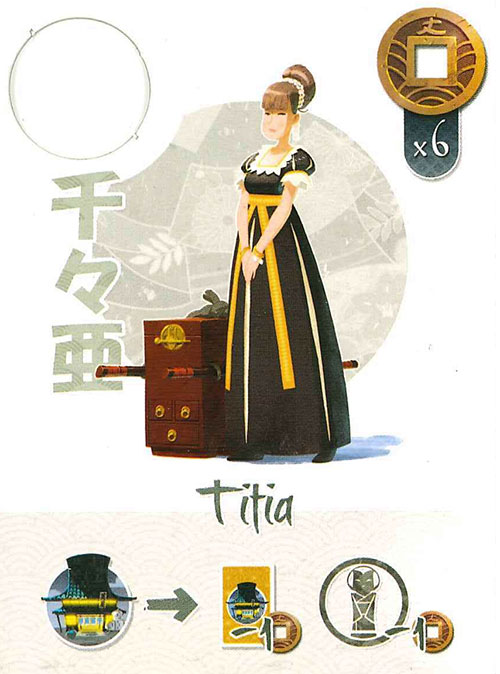
11. Titia the Dutch tourist
Set: Matsuri Ability: Titia buys souvenirs of the art type (statue) and legendary objects for 1 coin less than normal Coins: 6
Power: 27pts
(18 coins + 6 ability + 3 rich)
Like other shop characters, I am giving Titia credit for saving 2 coins on souvenirs over the course of the journey. She also happens to be rich.
Playing Titia – Difficulty: Easy
Titia is a village-centric character who should be earning the majority of her points on souvenirs. She differs from the other shop characters because she gets a discount on legendary souvenirs. Spending 1 less coin on legendary souvenirs is a major advantage. She can purchase swords for only 2 coins which is an outstanding value. Buying both swords would be a very strong strategy with Titia, something to strive for. The downside is you only get a 2-coin donation with devotion.
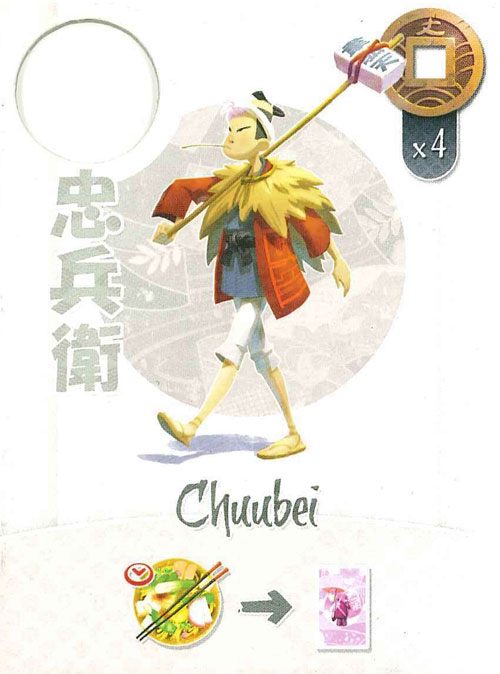
10. Chuubei the messenger
Set: Base Ability: Encounter at each intermediate inn Coins: 4
Power: 27.5pts
(12 coins + 10.5 ability + 3 consistent + 2 Accomplishment Boost)
Encounters are worth about 3.5 each. Chuubei will score 3 of them over the course of the journey for 10.5 bonus points. These three encounters will probably lock him up for the Chatterbox achievement as well.
Playing Chuubei – Difficulty: Easy
Because of his jump on Chatterbox, grabbing the Perfection calligraphy is a good early move. You can rest easy knowing at least one accomplishment is going to fall into your lap and work on another.
There is a good chance Chuubei is going to pull some free panorama cards from his encounters, and he ends up being a favorite to complete some panoramas if that turns out to be the case. Keep your eyes on that so you can pivot and focus on it.
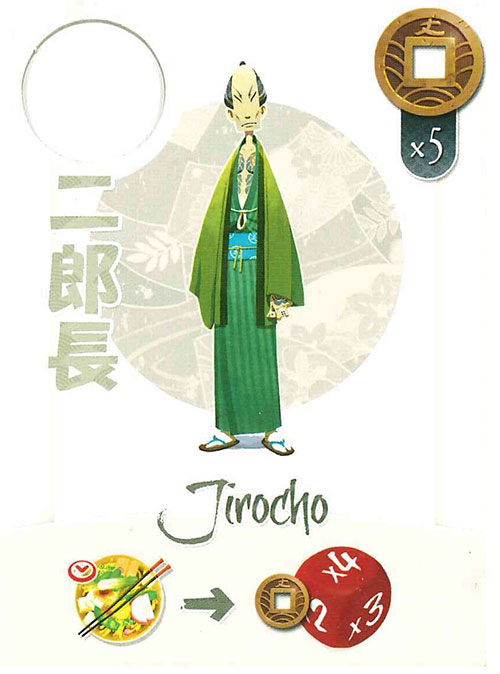
9. Jirocho the Yakuza
Set: Crossroads Ability: Can gamble 1 coin at each intermediate inn Coins: 5
Power: 28.5pts
(15 coins + 10.5 ability + 3 consistent)
Basically Jirocho gets to buy and use a fortune amulet at each intermediate inn. I was pretty “meh” on the fortune amulet in my guide, but that is only because you are taking the fortune amulet over other more lucrative amulets. Jirocho gets it for free!
The expected profit off the gamble is +1.16 coins, and he gets to gamble 3 times which gives him a total expected profit of about 3.5 coins. Of course gambling is highly variable. If you live the dream and roll x4 each time you end up +9 coins which is insane! If we separate the high and low rolls Jirocho’s power level could be as low as 12pts and as high as 45pts! Generally speaking this character is going to do pretty well financially and will be able to follow a variety of strategies.
I actually considered giving Jirocho the “rich” bonus. Even though he doesn’t start with 6+ coins, he will essentially get 6+ after his first inn… But because it is a gamble I decided not to.
Playing Jirocho – Difficulty: Easy
In order to take advantage of Jirocho’s gamble at every inn you need to make sure you are walking into the inn with at least 1 coin so make sure you do not go broke! You don’t want to miss out on the opportunity to make extra money.
If you decide to keep a tight grip on your purse in the first day to see how your first gamble turns out you might get a nice head start on a good Foresight outcome. Otherwise you can play Jirocho however you want and probably do fine.
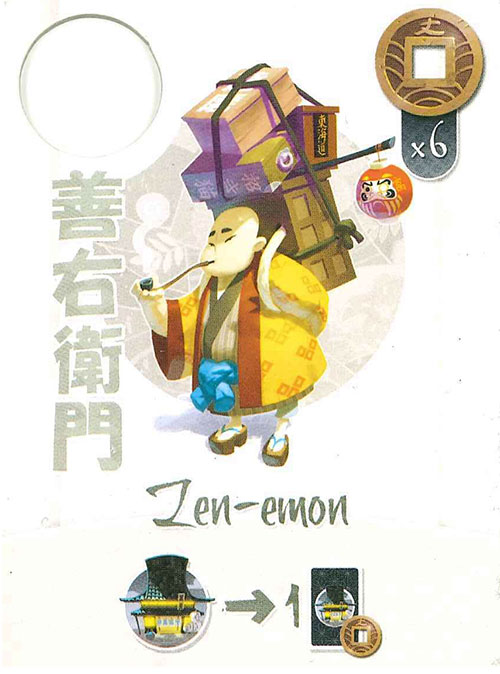
8. Zen-emon the merchant
Set: Base Ability: Can purchase one souvenir for 1 coin at each village Coins: 6
Power: 32pts
(18 coins + 9 ability + 3 rich + 2 Accomplishment Boost)
Zen-emon’s ability saves him coins, in my point evaluation I assume he will save himself 3 coins over the course of the game from purchasing souvenirs. This seems reasonable as you can buy a 3-coin item for 1, or a 2-coin item for 1 on your village stops.
Playing Zen-emon – Difficulty: Medium
Zen-emon is well-suited for a village strategy so you should lean into that when playing him. Pick up the Nostalgia calligraphy as soon as you can because picking up a bunch of souvenirs will be your priority. Don’t be afraid to skip a few spots if it will get you to another shop. Maximize the number of times you can buy 1-cost items, this will make you a shoe-in for the Collector accomplishment and pay out on Nostalgia and Emaki/Shodo legendary items.
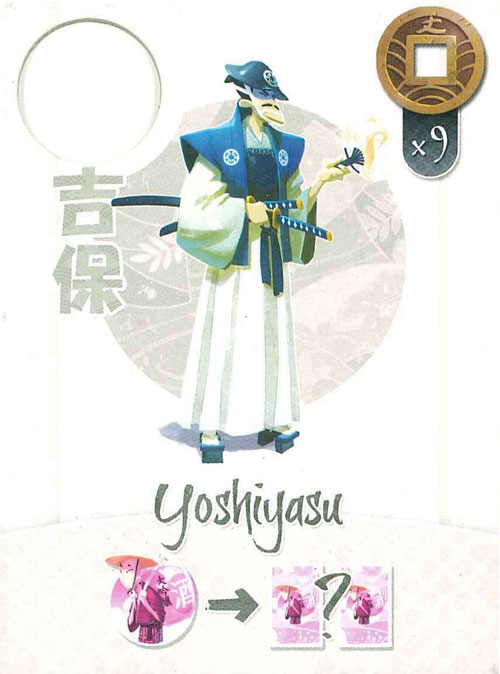
7. Yoshiyasu the Functionary
Set: Base Ability: At an encounter stop, Yoshiyasu may draw 2 encounter cards and choose one. Coins: 9
Power: 32pts
(27 coins + 2 ability + 3 rich)
Yoshi extracts more value from encounter stops than other characters. The average value of an encounter is 3.5pts but for Yoshi I kicked that up to 4.5pts because of his ability to get the higher value encounter of his choice. He also has a higher chance of finding the almighty Kuge in the encounter pool.
Playing Yoshiyasu – Difficulty: Easy
One of the shortcomings of Yoshi’s ability is that he must choose to draw an encounter instead of buying a calligraphy card which is often a better option, certainly early in the game. The good news is no matter what happens wealth is his true special ability.
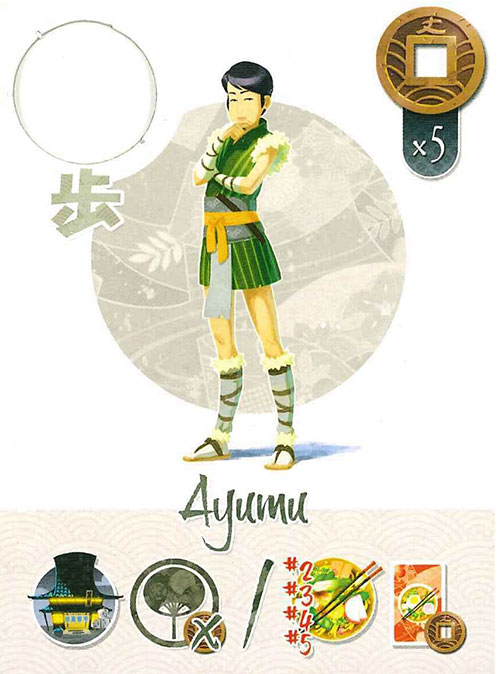
6. Ayumu the walker
Set: Matsuri Ability: Meal cards only cost Ayumu 1 coin. In addition, when at a village space the souvenir from the small objects (little fan) group are free. Coins: 5
Power: 35pts
(15 coins + 14 ability + 3 consistent + 3 accomplishment boost)
Ayumu actually has two different and unrelated abilities. His inn ability triggers at every inn and is similar to Kinko’s ability. He saves 1 or 2 coins on all of his meals to a minimum of 1. Often any character can spend only 1 on a meal, Ayumu can do so even if no 1-cost meals are available. As a matter of fact he can always buy the most expensive meal for only 1 coin to lock up the Gourmet accomplishment.
His second ability is to grab fan-type souvenirs for free. Alone this isn’t very powerful because you can’t plan on getting fans, and if you do get a bunch of fans they don’t contribute to your combo. On the other hand grabbing free items pads your souvenirs count for the collector accomplishment and Nostalgia calligraphy. He can also get double points by grabbing the Emaki or Shodo legendary items.
I calculated his ability score by giving him 4 coins he saved from meals, which are worth 12 points, and then granting him an additional 2 points for free souvenir pick ups. Ayumu is also getting +3 for accomplishment boost instead of +2 because I feel he is almost certain to get either Collector or Gourmet.
Playing Ayumu – Difficulty: Easy
The primary reason characters are hard to play is that they can easily get low on funds and end up being unable to eat a meal. Characters with abilities that mitigate this problem tend to be easier to play. Ayumu will almost always be able to eat even if he has only a single coin which makes planning his days much easier.
As I said before, Nostalgia calligraphy and Emaki/Shodo legendary items are great buys for Ayumu to score as many points as possible from his free fan-type souvenirs. If you manage to pick these up, try to grab a friendship amulet to hit as many villages as you can to get even more fans.
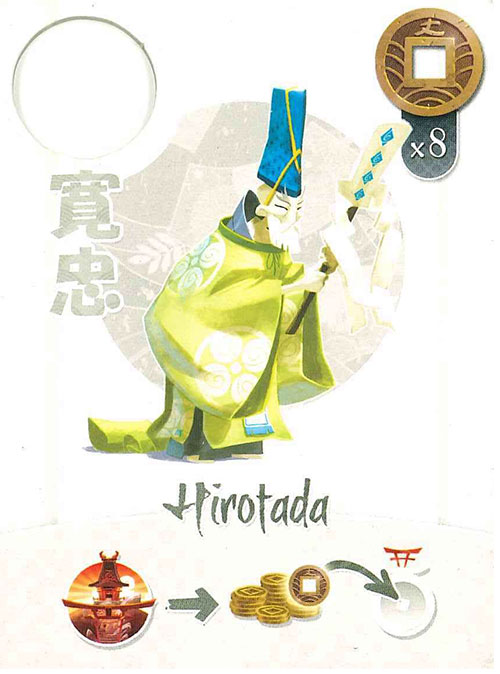
5. Hirotada the priest
Set: Base Ability: At each temple stop, Hirotada receives 1 coin donation from the bank. Coins: 8
Power: 35pts
(24 coins + 8 ability + 3 rich)
I am giving Hirotada credit for scoring 2 free donations to the temple being worth 4 pts each (1 for the donation, and 3 for the temple value). Of course he is also very rich which is where the majority of his power level comes from.
Playing Hirotada – Difficulty: Easy
Hirotada’s ability is excellent because he ends up gaining temple value while still being able to buy an amulet to further his strategy. Other characters have to make hard choices deciding if they want to donate to the temple or purchasing an amulet.
Go to the temple as often as you can to get your free donations, block other players and utilize amulets to gain points in other ways. Hirotada is very well suited to maximizing Foresight because he doesn’t actually need to “waste” any coins at the temple. He can instead buy Hospitality and Fortune amulets at every temple to score more Foresight points.
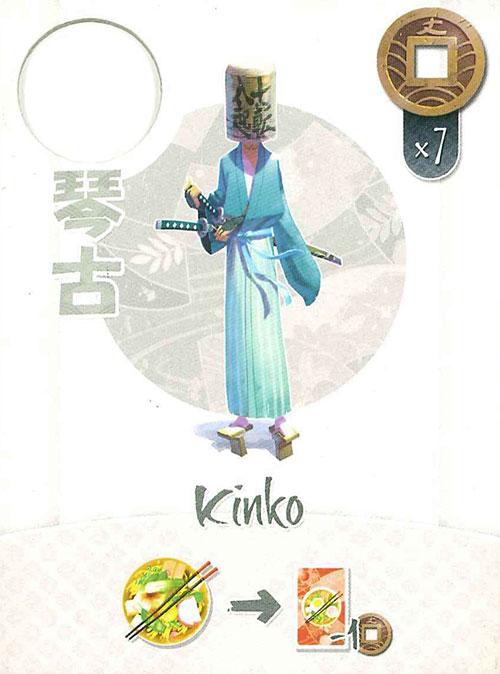
4. Kinko the Ronin
Set: Base Ability: Meals cost Kinko 1 less coin Coins: 7
Power: 41pts
(21 coins + 4 ability + 3 rich + 3 consistent + 2 Accomplishment Boost)
On top of being rich, his ability will always grant him another +4 coins bringing his coin value to a massive 11 (although I am not factoring these 4 coins as they are not guaranteed). Kinko is rich and consistent making him one of the most powerful characters in the game. Because he can buy meals 1 level higher for the same price, he is getting an accomplishment boost bonus toward Gourmet.
Playing Kinko – Difficulty: Easy
Being such a solid character, Kinko can follow a variety of strategies. He can easily play the souvenir strategy, either going for sets, or just buying swords. He can grab Foresight and work on maximizing his income while blocking others from farmhouses. Donating 3 coins at the temple doesn’t hinder him as badly as many others. It is difficult to do poorly with Kinko.
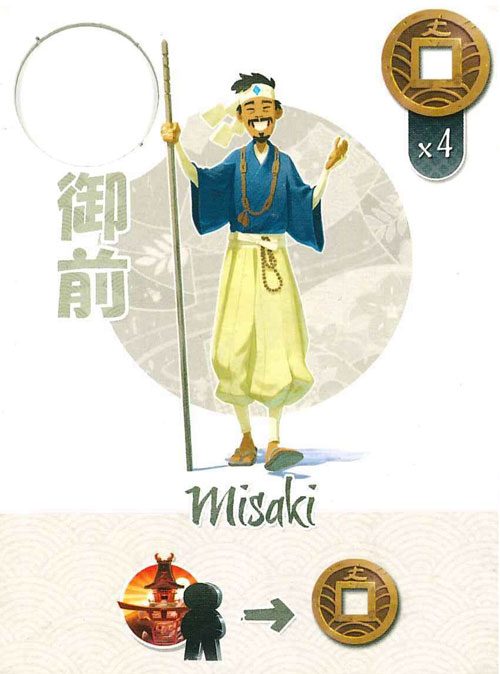
3. Misaki the disciple
Set: Matsuri Ability: Every time a traveler (him or another) stops at a temple space, Misaki takes 1 coin from the bank Coins: 4
Power: 42pts/33pts
(12 coins + 18/27 ability + 3 consistent)
Misaki has a range of points because the amount of temple stops varies from small game to big game (either 6 stops or 9 stops). In both cases though there are plenty of opportunities for spare change to come his way.
Playing Misaki – Difficulty: Easy
Misaki has a great advantage in his ability to generate constant income. One of the best early game plays is to purchase a legendary sword even though he only starts with 4 coins. Remember, Misaki gains a coin even when he visits the temple himself, so don’t be shy about going there. It is still just as important as ever to block other players from accessing the temple.
Misaki can also be played the way of the money-hoarder, grabbing the Foresight amulet and playing a frugal game while accepting other player’s donations.
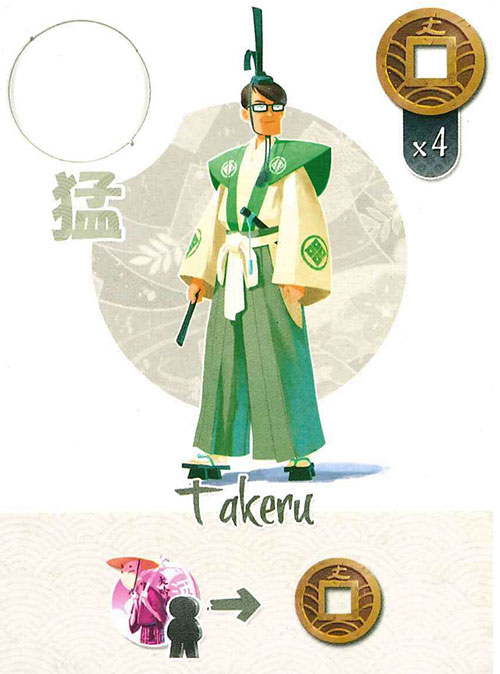
2. Takeru the counselor
Set: Matsuri Ability: Every time a traveler (him or another) stops at an Encounters space, Takeru takes 1 coin from the bank. Coins: 4
Power: 42pts/36pts
(12 coins + 21/27 ability + 3 consistent)
Takeru’s power depends on how big the game is, because the number of encounter stops increases from 7 to 9 from a small to big game. In either case Takeru earns plenty of extra coins. Unlike some other stops encounter stops are never missed (because they are free) so he will always get maximum value from his ability.
Playing Takeru – Difficulty: Easy
Takeru can feel comfortable because, like Misaki before him, he will have a constant stream of coins coming in. When you are playing make sure plan ahead and be aware of how many coins you are going to earn and when. He can go broke in the middle of the day knowing 2 encounter spots are still upcoming which will ensure he has enough money to eat.
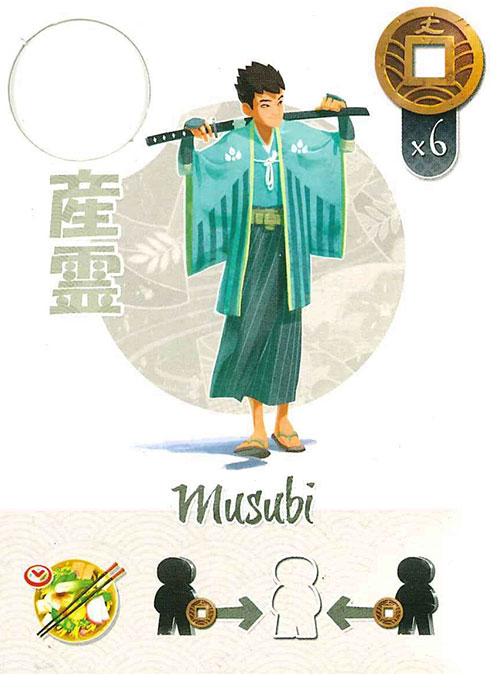
1. Musubi the rogue
Set: Matsuri Ability: When stopping at intermediate inns, Musubi can take 1 coin from each of his two neighboring travelers. If Musubi is unable to take 2 coins from travelers (traveler has no coins, or Musubi arrived first or last) he takes coins from the bank. Coins: 6
Power: 48pts
(18 coins + 24 ability + 3 consistent + 3 rich)
Musubi is a true powerhouse. He already starts rich with 6 coins, but then he is GUARANTEED to “earn” 2 coins at each intermediate inn. Essentially he starts with 12 coins which is more than anyone else in the game. The best other players can do is try not to get pick-pocketed by him, but that isn’t even his problem. Even if he doesn’t end up neighboring two players at the inn, he still grabs the extra coin from the bank.
Then there is the consideration of how much damage he is doing to other characters when he is taking coins from them. Players may play worse and make suboptimal moves to avoid being robbed, or they will get robbed and lose that coin (a potential 3 points). This will happen at 3 inns! If he double steals every time that is 18 points he is blocking from his competition.
I am granting Musubi an additional 6 ability points for the damage he is doing to his opponents. Though a more accurate power measurement could be taken by subtracting 6 points from power levels of all of his opponents before the game starts.
Playing Musubi – Difficulty: Easy
Like many other rich characters Musubi can basically do whatever he wants. Going for souvenirs is the most obvious strategy since he can easily afford to buy both swords, or shoot for maximum souvenirs. Musubi is also very well suited to get the Foresight calligraphy and cross the finish line with 6+ coins.
The added benefit to this character is other players might skip spots and rush into the inn, or take inefficient spots to delay going into the inn to avoid being robbed. They might also be unable to afford a meal if they do get robbed costing them some extra damage and opening up free opportunities for Musubi to catch up.
Final Thoughts
Nothing in this guide is concrete of course and player skill has plenty to do with winning. I feel like these are directionally accurate power levels and a good way to judge characters against each other, but it’s possible to win with anyone. The art of the game is to perform better than the average expectations. That is up to you.
Once again: make sure to check out my Tokaido Crossroads Guide for Expert Travelers if you haven’t already.